
We’re staying busy with our new house. It’s pretty nice but there are plenty of projects to be done. In my last post, I went over my first fun little project: a DIY Welcome Sign. Check it out for some inspiration and instructions on making a welcome sign for your home! Today, I’m sharing a weekend project I accomplished recently. I finished organizing garden supplies in our outdoor patio. The patio was in total disarray. This space needed some immediate attention!
Facing Some Challenges
The hardest part about moving is getting things organized after settling into your new home. You have to figure out where everything is going to go and it can be a challenge, especially if you move to a smaller home, like we did. The garage was already at max capacity, so the best spot to hold my gardening stuff was our screened-in patio.
Before Organizing Garden Supplies
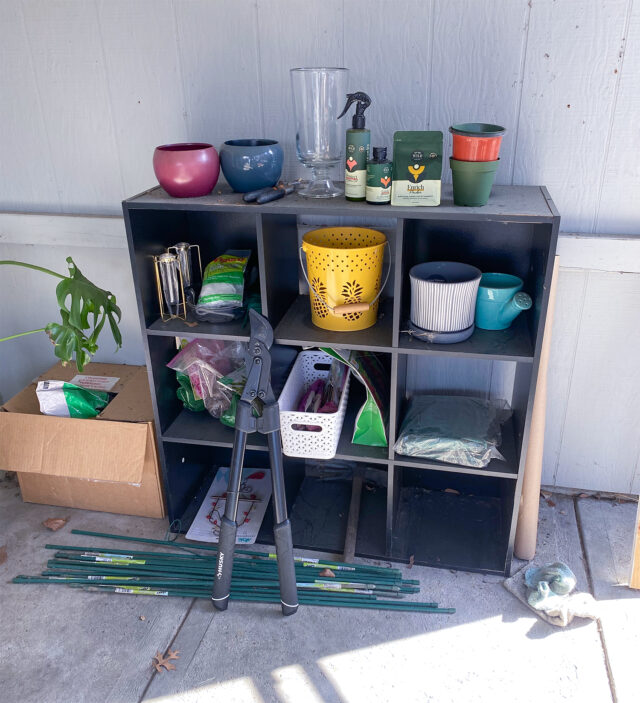
As you can see, there was a shelf unit holding everything (or trying to). There were gardening gloves, seed packets, tools, plant care items, etc. The problem was, besides looking extremely messy, that there was no organizational system to keep things contained or grouped. The unit was just getting cluttered and I don’t do well with clutter. It doesn’t bring me peace.
Already having the shelf unit made it more simple to figure out a plan. My goal was to contain and conceal all of the stuff that was sitting on/around the unit. I also wanted to group items together and add labels.
My Vision
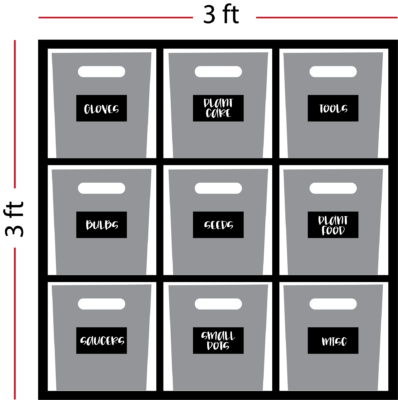
I took measurements of the spaces in the unit and found that I had room for 10” deep storage bins and I needed 9 of them. I initially wanted wooden or basket-type bins but when I started browsing, I realized it would be way too expensive to buy that many at once. With a mortgage, our budget is a little tighter these days. I had to go with plastic, but even then, some of the woven or prettier looking plastic bins can be pricey when buying 9 at a time. My budget was around $5 each. They also had to be opaque to conceal the contents and show less clutter.
I took a trip to the store and happened to find the perfect storage bins, at least to fit my budget.
I brought them home, put them in place, and started sorting things into them. Anything that didn’t fit into the bins (like bigger tools) found a home in the garage. Then, it was time to add labels. I happened to see a video of someone talking about clip-on labels that can go onto storage bins. So I searched Amazon and found a 30-pk of black clip-on labels. Perfect!
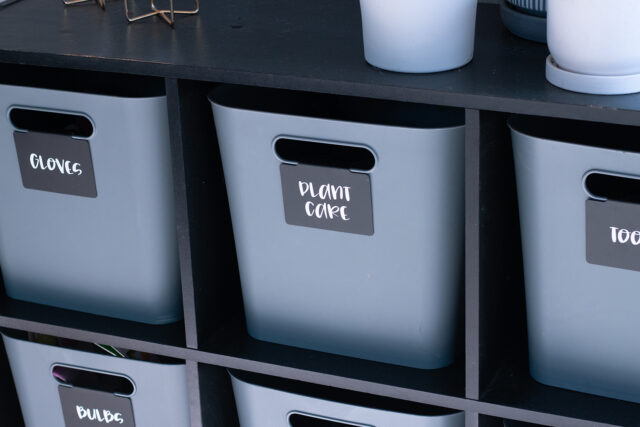
The labels
The labels came with a white pen so you can actually write on them and then wipe them off if needed. I have pretty good handwriting and some decent lettering skills, but I really wanted to put my Cricut to use for this.
First, I chose the font, which is always the hardest part for me. It takes me forever to pick just the right one! I couldn’t decide between a script or handwritten font. I went with a cute handwritten one. I carefully measured the labels to be able to size the words correctly. Then my Cricut did the rest. Once the vinyl was applied to the labels, I was eager to get them on the containers. It would be the last finishing touch.
After Organizing Garden Supplies
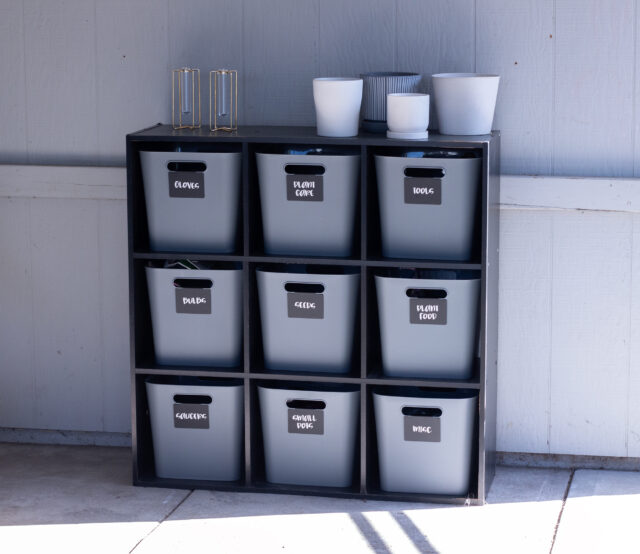
Such a difference! The space is so much tidier and my brain is at ease again.
So how much did I spend on this project?
Storage bins: $45
Labels: $8.85
Total: $53.85
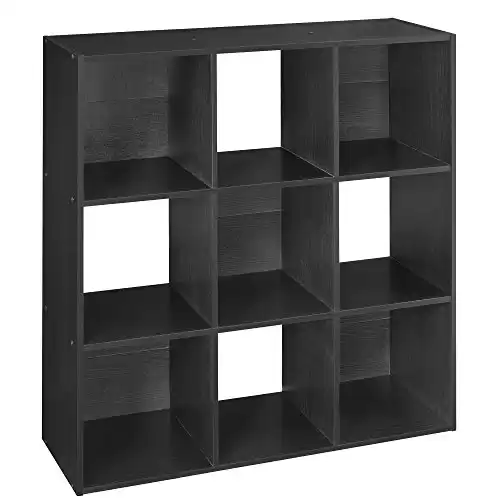
Here’s the same shelf I’m using if you’re interested….
9-cube organizer, perfect for separating items and keeping things organized or displayed.
This was a quick and easy project and I hope it gave you some inspiration for organizing your own space. I could not be happier with the result. I admire it every time I walk by it. Not only did it hide the clutter, but it also made it easy to find whatever I need. Gloves? Find it in the glove bin. Garden tools? Go to the tools bin. Seed packets? I’ve got a bin for that!
The next thing to do is actually start gardening. I have some plans to turn our backyard into a nice little oasis. I’ll be sharing the progress we make as we go, so stay tuned!
Discuss with us
What are some organizational projects you’ve done for your home?
More to check out
How to Start a Garden from Seed: 10 Tips for Beginners
Contact: ashley@peekandponder.com
- How to Start a Garden from Seed: 10 Easy Tips for Beginners - May 28, 2025
- 20 Spring Activities for Adults - March 20, 2025
- Home Coffee Bar Essentials - March 9, 2025
Leave a Reply